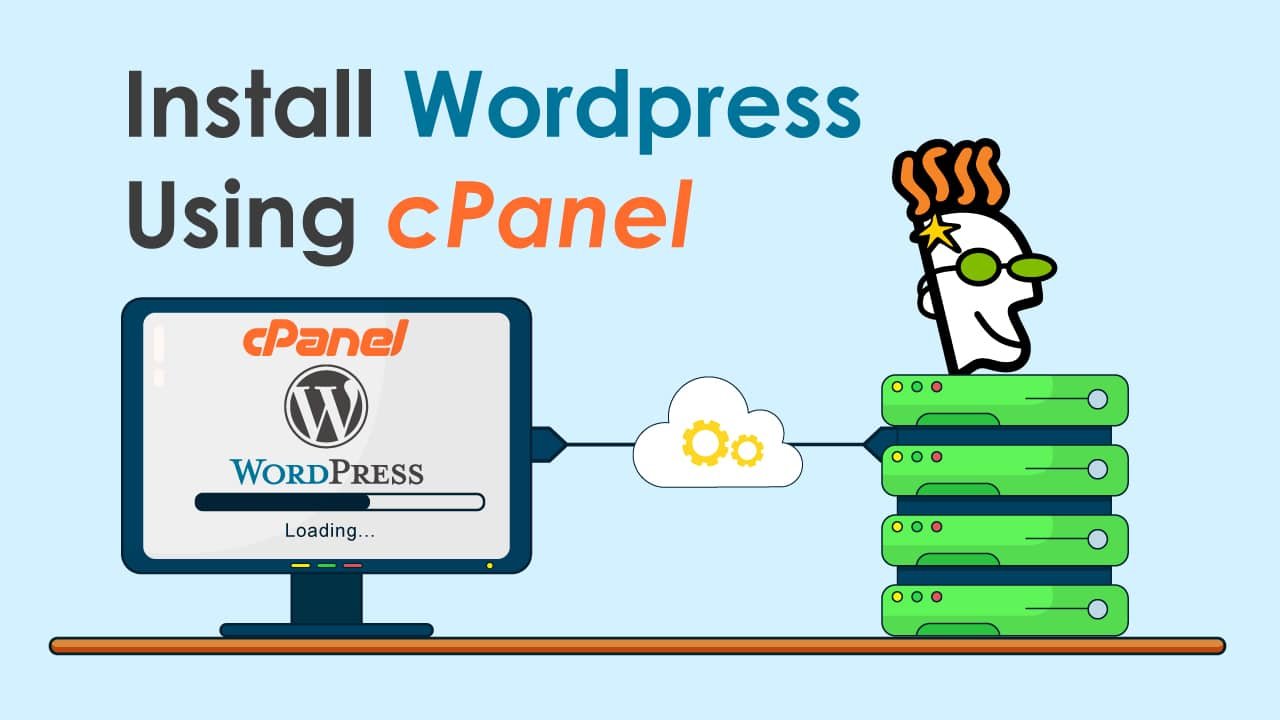
If you have a Linux hosting plan in GoDaddy, you have the cPanel. This article will give you an idea of what cPanel is and how to install a WP site on it.
WordPress CMS is used by millions of people to make their blogging site, shopping sites, and various kinds of other sites. Especially for the blogs, WordPress is probably the best CMS for the bloggers.
So many people are now online and have their own websites. But managing those websites is quite a critical job. Almost every hosting provider whether it is about the top hosting provider’s like-
To manage the hosting accounts, they have their separate featured cPanels. If you don’t know what cPanel is and what are the applications of it, then have a brief look at this.
What is cPanel?
cPanel is basically Linux based web hosting control panel. It makes the work more comfortable for people to manage their Linux hosting accounts. For example, you have a classified website there cPanel allows you to control your whole website functions. From uploading job updates to check pictures, files, settings, applications, manage accounts of users, backups, mailing accounts, mail systems and lots of more. Mostly with cPanel people can control their website without any in-depth technical knowledge. As the prospect of knowledge, we have said before that every hosting provider has their cPanels. They have lots of hosting users. So there is lots of information available on the market on how to use the cPanels. Lots of tutorials you will easily find with making it easier to understand the cPanel function.
In this article, we are going to talk about only for the Godaddy. If you are using the Godaddy Linux hosting plan and if you have a website in WordPress and still not installed it on your hosting account then you will get lots of information on this regards. Here we will give the step by step guide how you can install your WordPress site in your hosting account.
Let’s see how you can do so,
- At first to get your cPanel dashboard, sign in to your GoDaddy account and click My Products.
- Then In your products list, locate Web Hosting, and then click on the Manage.
- After clicking there, you’ll see a listing of all your hosting accounts and domain names.
- Here we are taking an example that you have a blogging site myblogpassion.com. Notice that ‘cPanel’ appears under the Manage button.
- Then click on the Manage to open the cPanel. That is the cPanel dashboard. Now you can install WordPress.
- After that Under Web Applications, click on the WordPress. Installatron opens to an Overview page about WordPress.
There you don’t need to spend any time unless you’d like to learn more about WordPress.
- Let’s keep going and click on ‘Install this application. ’ The Installatron install wizard will guide you through the installation of WordPress. It provides instructions and helpful information about each field.
- Here are a few important things to remember. First, in the Location section, be sure the domain you want to install WordPress on appears in the Domain field. In our example, you have only one domain, so it automatically appears in the Domain field. If you own other domains, or have created sub domains, they would appear in the drop-down menu.
- Then next, leave the Directory field empty, if you want to use WordPress as the website for the domain you selected.
- If you are not sure what that means? Let’s suppose you type “blog” in the Directory field. WordPress will be installed on myblogpassion.com/blog, and that will be the web address for the page or site she creates with WordPress. But then later if you decide you want to build a full website according to your niche and now you want the web address to be myblogpassion.com. You will need to either re-install WordPress on myblogpassion.com– or move or copy the WordPress installation to her myblogpassion.com domain.
- Finally, in the Settings section, you’ll see that an Administrator Username and Administrator Password are provided. Be sure to note them, or you can change them to something you’ll remember. When all the fields and options are set the way you want them, click Install.
- That’s it! Now you can start creating with WordPress.
Hope you have understood how you can install your WordPress blog or other websites on a GoDaddy hosting account that includes the cPanel.If you want to know the step by step guide for connecting domain Name of Your WordPress site in GoDaddy you can read:-
How Can You Connect The Domain Name Of Your WordPress Site In GoDaddy
Thanks for reading. If you have any inquiries or suggestions regarding this, please comment below on our comment box.
